
Working With Folders
Overview
Each project contains standard folders used to sort and organize files from KLDiscovery, as well as provide convenient locations for you to share files with KLDiscovery. You can create new folders and modify existing folder names.
Client Portal identifies system-created and user-created folders with unique icons.
-
 : User-created folder (can be modified)
 -
 : System-created folder (cannot be modified)
The Files and Contracts tabs share a common header of command buttons (Upload Files, New Folder, and Folder Refresh).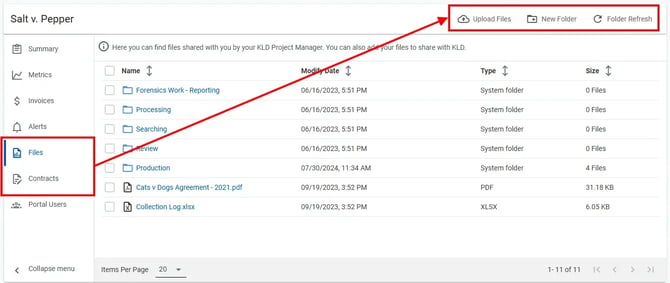
Downloading Folders
-
Hover over the folder in the folder/files list and click the Download icon.

-
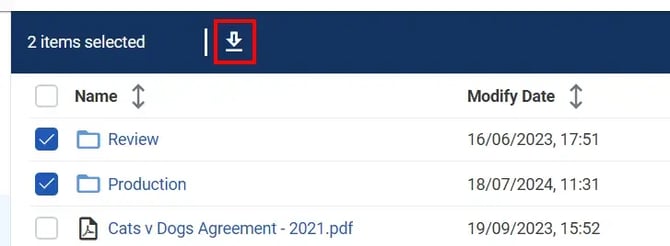
To download multiple folders, click the check box in front of the folder name for each folder you wish to download. Then click the download icon in the header that appears above the folders/files list.
-
-
A progress notification will appear in the bottom right corner of the screen as the contents of the folder(s) are virus scanned and prepared for download.
-
The folder(s) and any files or folders contained (including subfolders and their contents) will be downloaded in a single ZIP archive.
Creating Folders
-
Click the tab where you want to add the new folder (Files or Contracts)
-
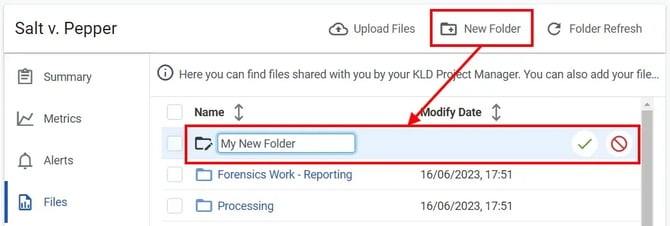
In the page header, click New Folder.
-
Enter the Name of the new folder and click the green checkmark button.
-
To cancel creation of the new folder, click on the red cancel button.
-
Renaming Folders
-
Hover over the folder you want to rename and click the Rename icon.

-
Edit the name of the folder as desired.
-
Click the green check icon.
-
To cancel renaming the folder, click the red cancel icon.
Moving Folders
-
Hover over the folder you want to move and click the move icon.

-
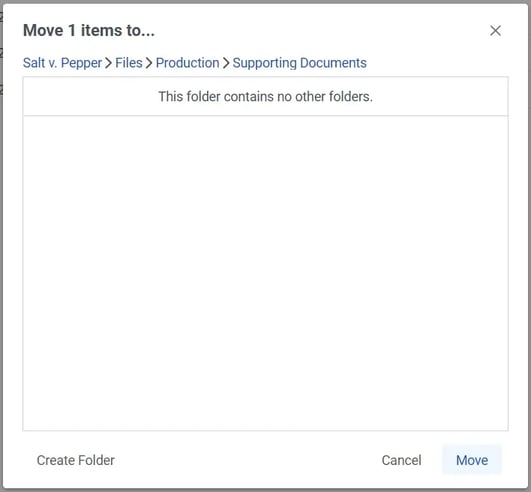
In the Move Items To... dialog, navigate to the folder where you would like to move the folder.
-
Click the Move button to confirm your selection and move the folder.
-
A notification will appear in the bottom right corner of the page confirming that the folder has been moved.
Deleting Folders
Only user-created folders (shown with a black folder and pencil icon) can be deleted from Client Portal. System-created folders (shown with a blue folder icon) cannot be deleted.
Deleting a Single Folder
-
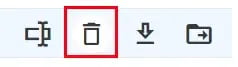
Hover over the folder in the folder/file list and click on the trash can icon.
-
Confirm that you want to delete the folder by selecting Yes on the confirmation dialog.
-
A notification will appear in the bottom right corner of the page indicating the deletion was successful.
Deleting Multiple Folders
-
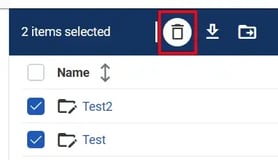
Select the folders you want to delete by clicking the check box in front of each folder name.
-
Click the Delete icon in the toolbar that appears above the folder/file list.
-
Confirm that you want to delete the folders by selecting Yes on the confirmation dialog.
-
A notification will appear in the bottom right corner of the page indicating the deletion was successful.
Refreshing Folders
Refreshing a folder will update the list of files and subfolders it contains to reflect any changes made to the folder by other users. To refresh a folder:
-
Click the tab of the page where you want to refresh the folder (Files or Contract).
-
In the page header, click Folder Refresh.

Working With Files
Uploading Files
-
Based on the type of file being uploaded, click the Files or Contracts tab and navigate to the folder where you would like to upload the files.
-
In the header, click Upload Files.
-
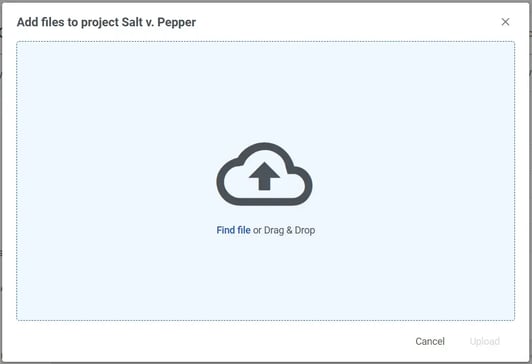
On the Add files to project... dialog box, drag and drop files into the blue box or click Find file to browse for files.
-
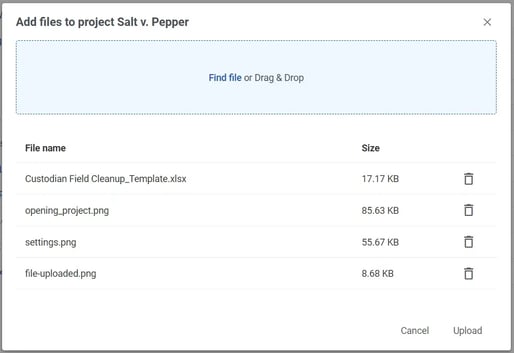
Continue to add files using drag-and-drop or the browser until all files are listed in the Add files to project... dialog.
-
Any files that are not needed can be removed before uploading by clicking on the trash can icon next to the name of the file.
-
-
Click Upload to begin uploading the listed files.
-
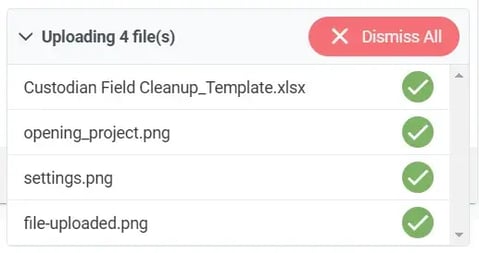
Upload progress will be displayed in a notification in the bottom right corner of the screen. A green checkmark icon will appear next to the name of each file once it has uploaded successfully.
Unsupported Files
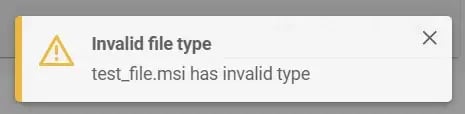
A notification will appear in the bottom right hand corner of the page if a file cannot be uploaded for any of the following reasons:
-
File type/extension is not supported.
-
Duplicate file name
-
Empty (0 bytes) file
-
File size is too large (greater than 25 MB)
Virus Scanning
All files are scanned by antivirus software as part of the upload process, and scan progress will be displayed with a notification in the bottom right hand corner of the page.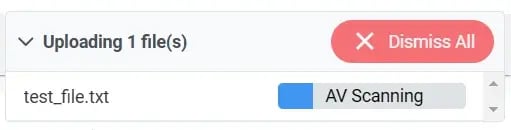
Files that are identified as potentially malicious will display in the Add files to project... dialog with a red icon and will not be uploaded. Additionally, an e-mail notification will be sent notifying you that the file was identified as potentially malicious and not uploaded.
Downloading Files
Downloading Single Files
-
Hover over the file you want to download and click the Download icon.

-
A progress notification will appear in the bottom right corner of the page as the file is scanned for viruses and downloaded.
Downloading Multiple Files
-
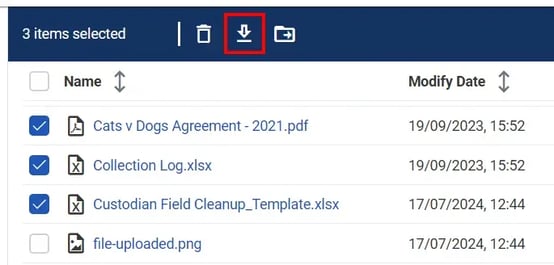
Select the files you want to download by checking the box in front of each file name.
-
Click the download button in the header above the file list.
-
A progress notification will appear in the bottom right corner of the page as the files are scanned for viruses.
-
After the files are scanned for viruses, they will be consolidated into a single ZIP archive and downloaded.
Renaming Files
-
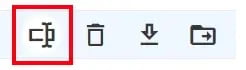
Hover over the row for the file and click the rename icon.
-
In the Name column, change the file name to your desired value.

-
Check the green check button to save your changes and rename the file, or click the red cancel icon to revert to the existing file name.
Moving Files
Moving Single Files
-
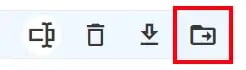
Hover over the row for the file and click the Move icon.
-
On the Move Items To... dialog, navigate to the folder where you would like the file to be stored.
-
If necessary, click the Create Folder button to create and rename a new folder.
-
-
Click the Move button to move the file, or Cancel button to leave it in the original folder.
Moving Multiple Files
-
Select the files you would like to move by clicking the checkboxes to the left of their file names.
-
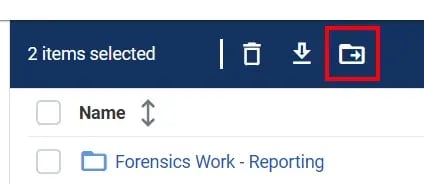
Click the Move button in the toolbar above the file list.
-
On the Move Items To... dialog, navigate to the folder where you would like the files to be stored.
-
If necessary, click the Create Folder button to create and rename a new folder.
-
-
Click the Move button to move the files, or Cancel button to leave them in the original folder.
Deleting Files
Deleting Single Files
- Hover over the row for the file you want to delete and click the Delete icon.
- On the Confirmation dialog box, click Yes.
Deleting Multiple Files
-
Select the files you would like to delete by clicking the checkboxes to the left of their file names.
-
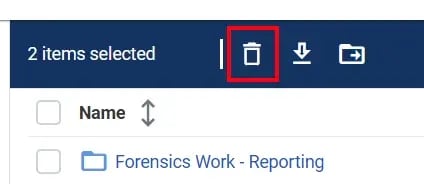
Click the Delete button in the toolbar above the file list.
-
On the Confirmation dialog box, click Yes.